By Levi Sim – Owner/Photographer/ Public Speaker at Levi Sim Photography
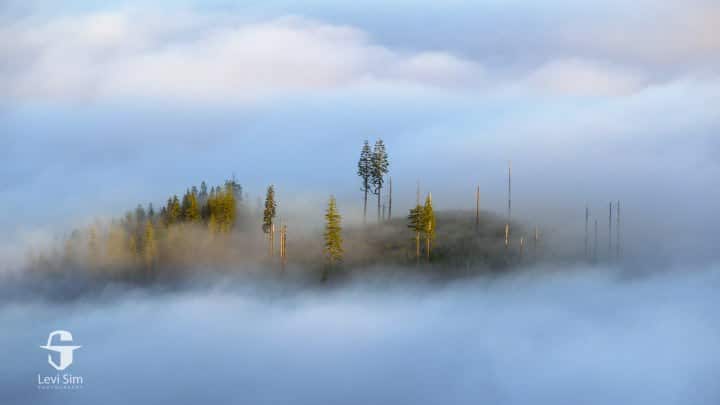
Sharing pictures from beautiful places is one of my favorite things to do, especially when I’ve hiked to get there. However, if I suddenly had to choose between never taking a picture for the rest of my life or never hiking for the rest of my life. My choice would be to give up photography.
I’d rather continue to see marvelous places for myself and never share them in pictures than be able to share ordinary places in pictures and not have the ability to hike. Plus, hiking is one of my favorite ways to torment my kids.

My passion for both hiking and photography has forced me to learn many techniques for hiking photography, that will help you have a better experience when you set out to capture some pictures. These tips in this post are not just for long hikes. They’re effective for all sorts of hiking photography, even when your hike is just fifty yards to the top of a little hill to capture a stunning sunset photo.
1. Walking downhill? Lean forward!
When coming down a steep and slippery slope, most people tend to lean back so they can catch themselves with their hands if they slip. The problem is that this stance may cause you to slip more.
When you lean back into the hillside, you’re tilting your center of gravity, so it’s easier to fall down the hill, and your legs won’t be able to help. Leaning back while hiking downhill is even worse when you have a heavy backpack full of camera gear. Not only does the gear tip you farther back which makes it easier to slip and fall, but you risk landing heavily on your backpack and potentially smashing your gear.
This kind of slipping is one of the biggest reasons people don’t like hiking; no one likes to repeatedly slip and end up on their rear ends in the dirt. But the cure is simple; lean forward with your hands in front of you. If you look and feel like a ski racer when you walk down steep slopes, then you’re doing it correctly.
Skiers lean forward and center themselves over their skis for stability. If they lean back too much, then they get “caught in the back seat” and end up falling backward. Leaning forward enough that your chest is over your shoes and your hands are out in front of you will keep you from slipping down the hill. Also, the heavier your backpack is the more you have to lean more forward.
It’s hard to master this downhill hiking technique as it does not feel natural. I still have to remind myself of this tip every time I find myself slipping. It is especially more difficult to remember when you’re tired from climbing a mountain, but it works. So remember, leaning forward with your hands out front will keep you off your butt and your gear out of the dirt.
2. Keep the pace, but change the stride
When the trail gets steep, it’s natural to try and take big steps up the slope like climbing stairs. However, these large steps and long strides will tire your legs quickly and make you slow your pace (number of steps per minute). Taking long strides when the trail gets steep, will cause fatigue, your heart will start to pound, and you will feel pretty miserable quickly.

Rather than taking big steps up steep slopes, take small steps and keep the same pace that you had on the flat spots. The steeper the slope, the smaller your steps should become. It makes the climb slower, but you’ll have more energy and less fatigue when you get to the top. Also, you won’t be out of breath with your heart pounding in your ears, either. When the trail flattens out again, just lengthen your stride and keep the same pace.
Your friends may pass you initially, but you’ll feel like a great hiker, being able to chat without huffing and puffing, and you will eventually pass them and see them worn out on the side of the trail.
3. Use a pack with a hip-belt and sternum strap
Using a hip-belt on your backpack will let you rest the major weight on your hips instead of on your shoulders. It also keeps the pack closer to your body, which will help from swaying and will keep your balance.
You don’t need an expensive pack to find a hip-belt included, but you will get better results from a higher quality pack. I love Vanguard’s Alta Sky packs, and I can also recommend Atlas Packs.
I also highly recommend investing in a sternum strap as well as a hip-belt. The hip-belt keeps the weight off your shoulders, but the sternum strap keeps your pack on your back.
If you do not use a sternum strap, as you load your backpack, the weight of your gear will pull your back pack off your body, and your shoulder straps will constantly slip off of your shoulders. The sternum strap prevents this from happening by holding the pack close to your body and the shoulder straps together preventing them from slipping.
If you don’t have a sternum strap on your backpack, you can easily improvise one. I often use a bandanna tied between the straps.
4. Keep cool
If you’re hiking on a hot day, you can keep cool by rolling a cotton bandanna, wetting it, and tying it around your neck. As the water evaporates out of the bandanna, you’ll feel coolness against your neck, and it feels very refreshing. Remember to keep it damp; when it dries out it becomes a scarf, and it will make you feel warmer.
Using a damp bandanna is great for the desert, and not so great in places like Florida. Because if it’s humid, the water may not evaporate quickly enough to help you feel cool.
5. Keep your camera & tripod handy
There are so many great pictures that you can take as you walk. If your camera and tripod are in your backpack, it will quickly become too much hassle to get it out all the time.
“I’ll shoot it on the way back,” you’ll say to yourself, and it will never happen. You’ll end up packing your tools all the way to the viewpoint and only take pictures at the one spot.
Instead of keeping your gear in your bag; I recommend using a holster. I love the Spider Holster Backpacker kit. The holster allows my camera to hang from my pack’s shoulder strap making it easily accessible during a hike. I also use a holster bag to keep extra lenses or a long lens that is too heavy for the Spider Holster.
For the lenses, I use the Ruggard Hunter Pro 65 holster bag, which I can attach to my hip-belt. I also use it on its own when I’m only carrying a camera and one or two lenses. Having it hang from my belt keeps my hands free.
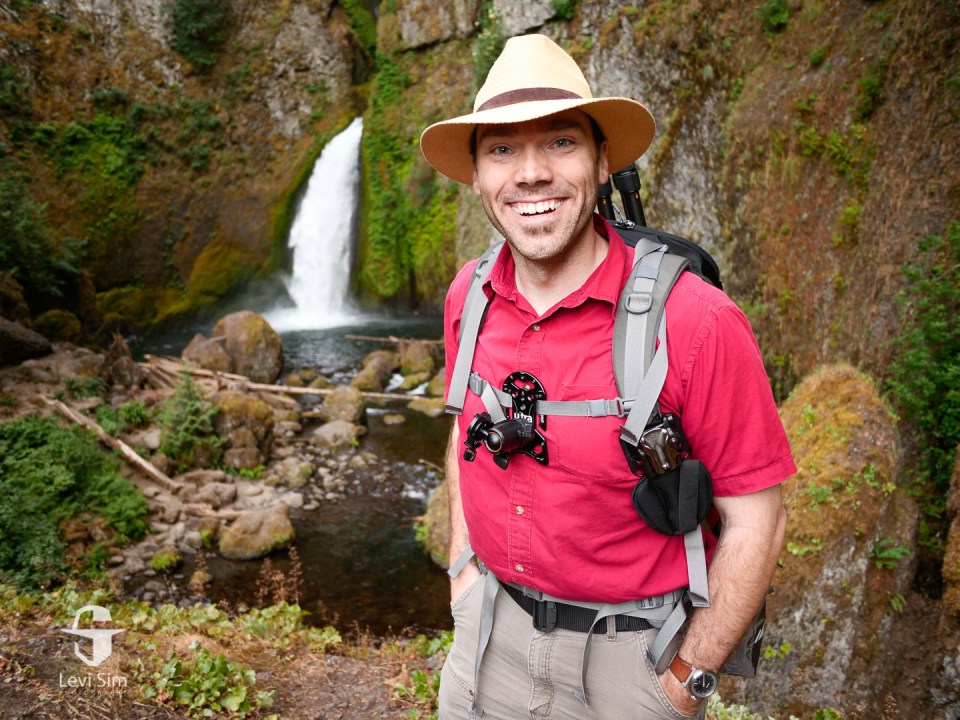
From viewing the photo above, you can see the Spider Holster Backpacker on my left shoulder strap, and the Platypod Ultra is hanging on my sternum strap with a small Vanguard TBH-50 ball head. I’m also wearing the Atlas Packs Athlete pack with the Alta Pro 2+ tripod.
Similarly, you need to be able to deploy a tripod quickly, or it won’t be used. There is nothing worse than carrying a heavy tool up a mountain and then not using it. This inconvenience and discomfort will cause you to not bring it the next time you go hiking, and your pictures will suffer for it.
I prefer to carry mine over my shoulder rather than attaching it to my bag. I carry the Platypod Ultra in my pocket or on my sternum strap, so it’s readily available for you to get a quick shot.
Conclusion
Whether you’re hiking fifty yards or ten miles, using the right techniques and the right gear will help you travel more comfortably and safely. It also enables you to capture the pictures that you’re chasing. I love hiking, and I hope that this post inspires you to get out into the wild for some hiking photography this season.
This post by Levi Sim originally appeared on Photofocus.com
Don’t forget to check out “TruLife® Acrylic Features Adventure Photographer: Levi Sim.”
About The Author(s)
Levi Sim
Owner/Photographer/ Public Speaker at Levi Sim Photography
Levi Sim is passionate about making photographs and helping others make their pictures better, too. He’s a full-time photographer that makes business portraits and markets and brands pictures for a living. He spends the rest of his time practicing all other kinds of photography.